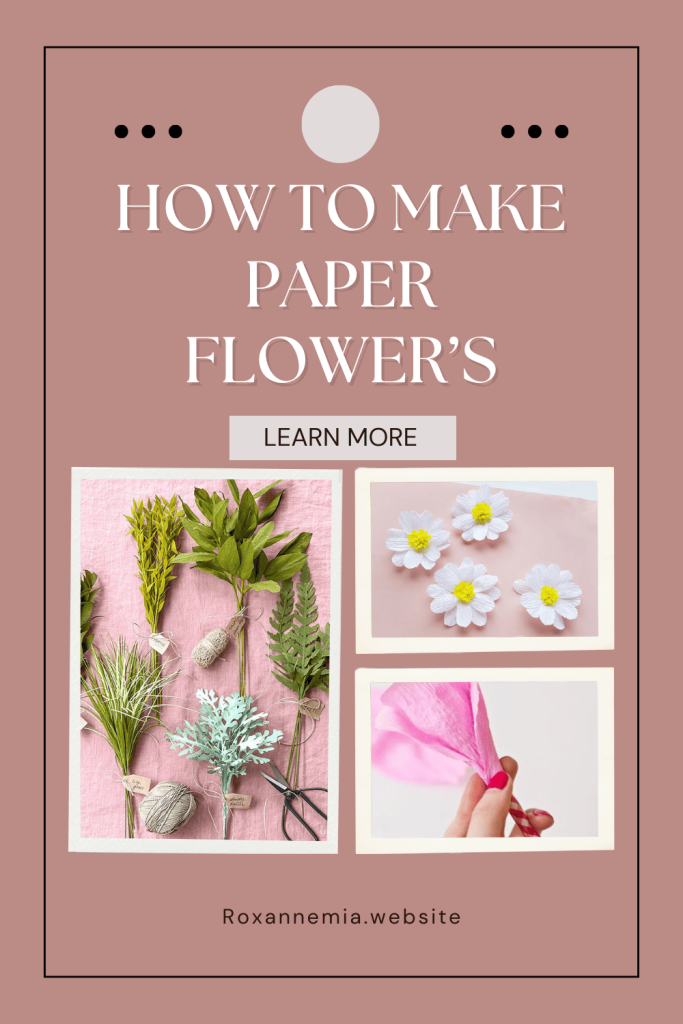
How to Make Paper Flowers (A Simple Step-by-Step Guide Anyone Can Follow)
Last updated on March 27th, 2026 at 10:50 pm
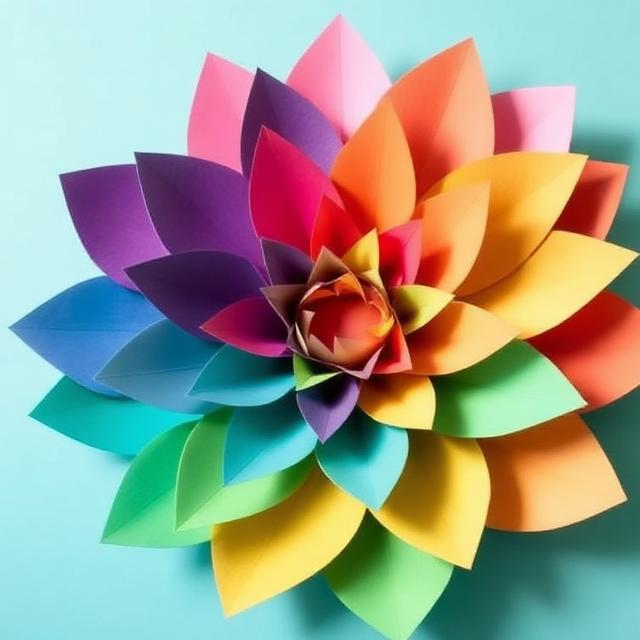
Paper flowers are one of those crafts that look impressive but are surprisingly easy once you get started. Whether you want handmade décor for a party, a creative afternoon with kids, or something pretty to brighten a shelf, this project delivers big results with minimal supplies. Best of all, paper flowers don’t wilt, don’t need watering, and can be customized to match any color scheme.
If you’ve ever scrolled past beautiful paper blooms and thought, “I could never make that,” this guide is for you. I’ll walk you through 12 clear, manageable steps, explaining not just what to do but why it works. Take it slow, enjoy the process, and don’t worry about perfection—handmade charm is the whole point.
Step-by-Step: How to Make Paper Flowers
Step 1: Gather Your Supplies
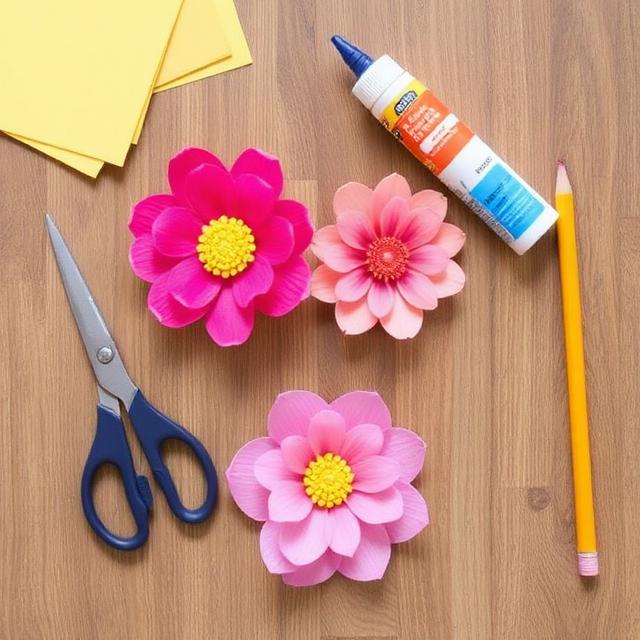
Start by setting up everything you’ll need so you’re not stopping mid-project. Colored paper, scissors, glue, floral wire or pipe cleaners, and a pencil are the basics. If you have crepe paper, it adds lovely texture, but regular craft paper works just fine. Having everything ready makes the process smoother and more enjoyable. This setup also helps if you’re crafting with kids or working on multiple flowers at once.
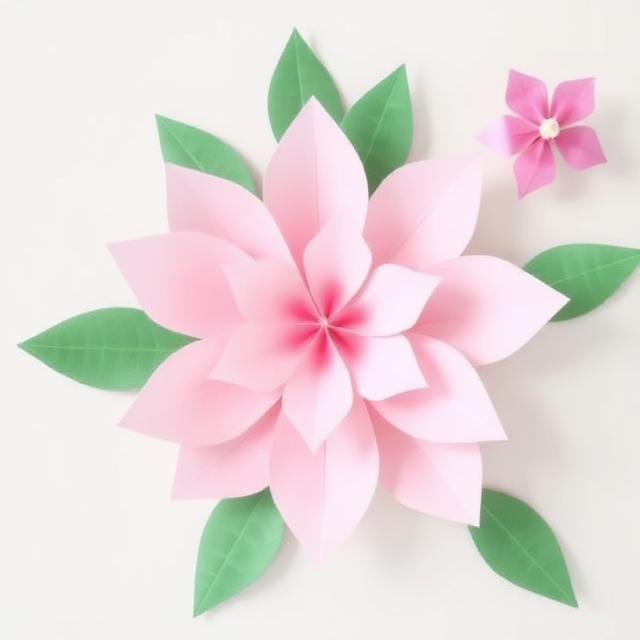
Step 2: Choose Your Flower Style
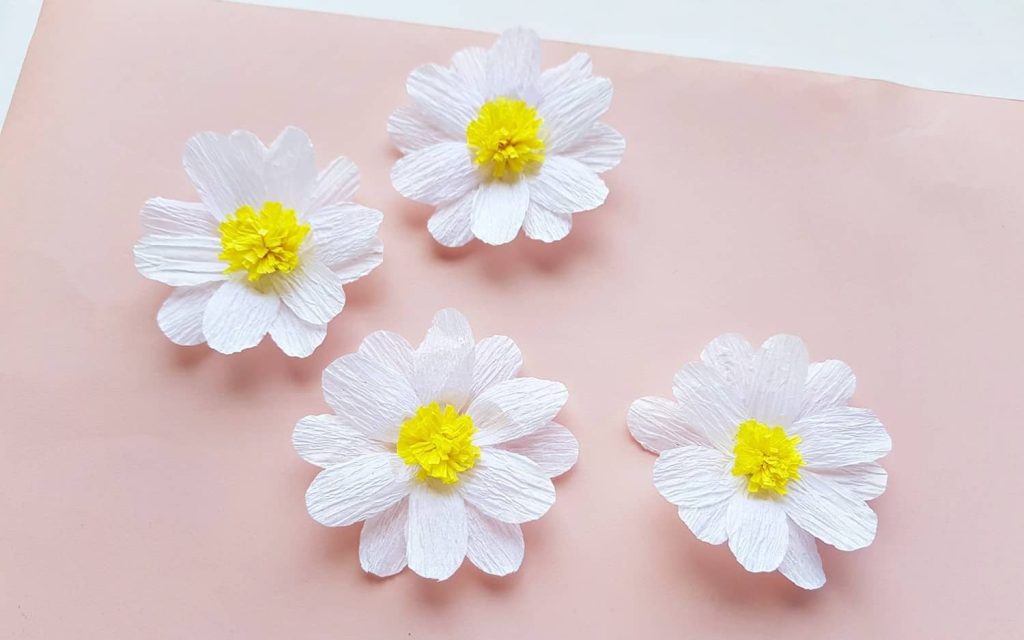
Decide what type of flower you want to make before cutting anything. Simple daisies are great for beginners, while roses or peonies feel more decorative. Your flower choice determines the petal shape and layering, so this step saves time later. Look around your space and pick a style that fits the mood—playful, elegant, or bold. Real flowers can also serve as helpful visual references.
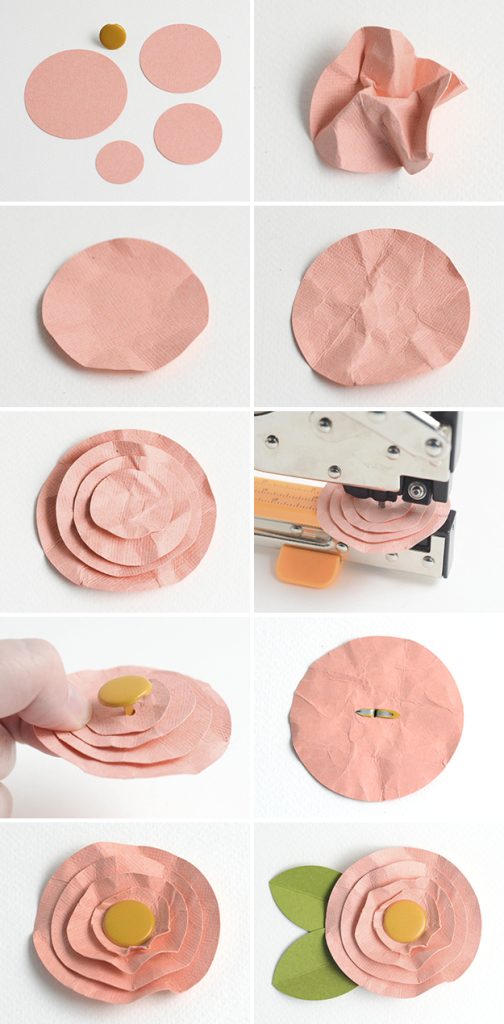
Step 3: Select and Prepare Your Paper
Pick paper colors that work well together, especially if you’re layering petals. Thicker paper gives structure, while thinner paper creates soft, delicate petals. Smooth out wrinkles so your cuts are clean and even. If you’re mixing colors, keep darker shades for the center and lighter ones for outer petals. This small detail adds depth and realism.
Step 4: Draw Petal Shapes
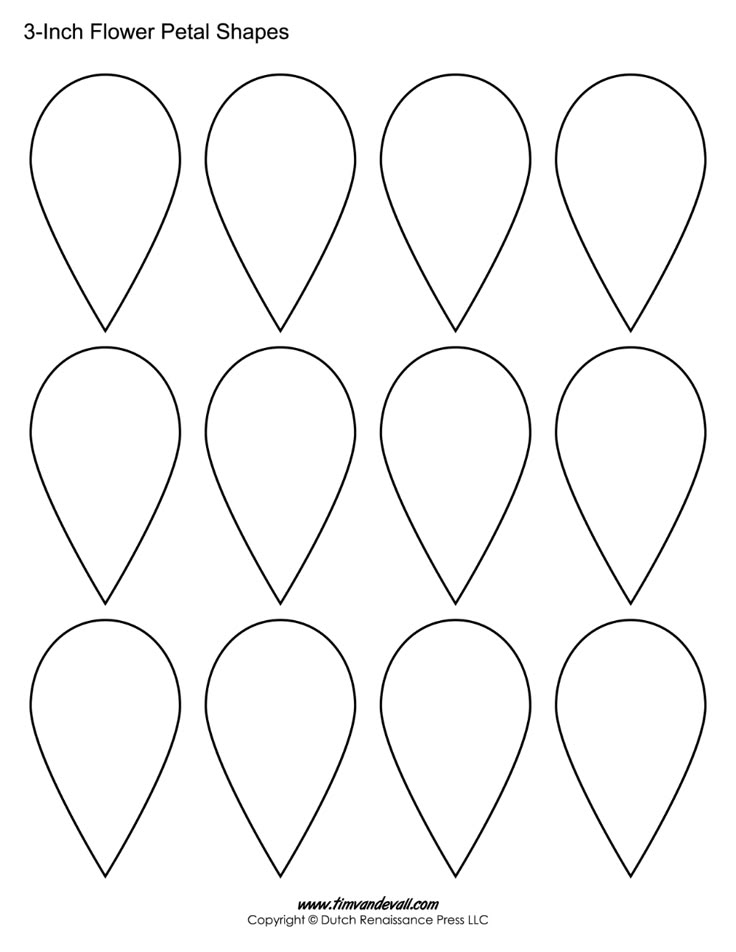
Lightly sketch your petal shapes on the paper using a pencil. Keep the shapes simple—rounded or teardrop forms work best. Varying petal sizes makes the flower look more natural and full. You can draw one petal and use it as a template for the rest. Don’t press too hard; pencil marks should be easy to erase or hide.
Step 5: Cut Out the Petals
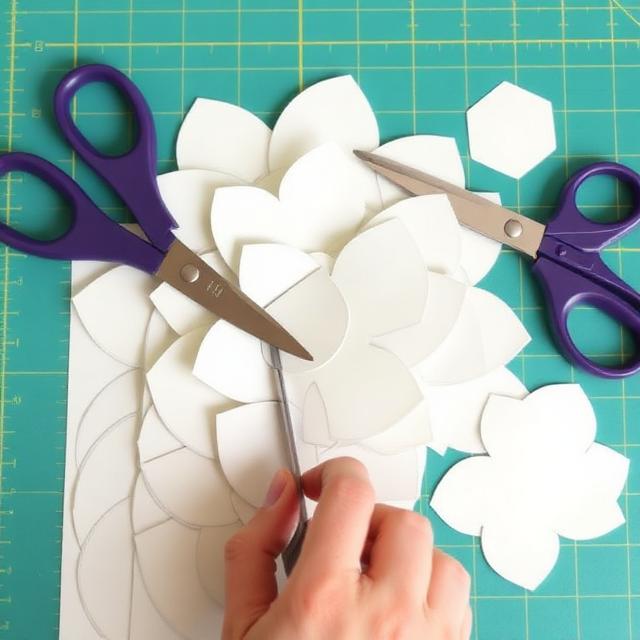
Carefully cut along your drawn lines using sharp scissors. Take your time, especially around curves, to keep edges smooth. Clean cuts make a noticeable difference in the final look. Stack a few sheets together to save time, but don’t overload or the edges may slip. Set your petals aside in size order to stay organized.
Step 6: Shape the Petals
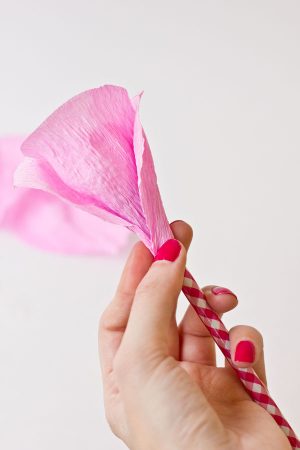
Use a pencil, pen, or your fingers to gently curl the edges of each petal. Rolling the paper slightly gives it dimension and softness. This step transforms flat paper into something lifelike, so don’t skip it. Curve smaller petals more tightly and leave larger ones looser. Even subtle shaping adds a professional finish.
Step 7: Create the Flower Center
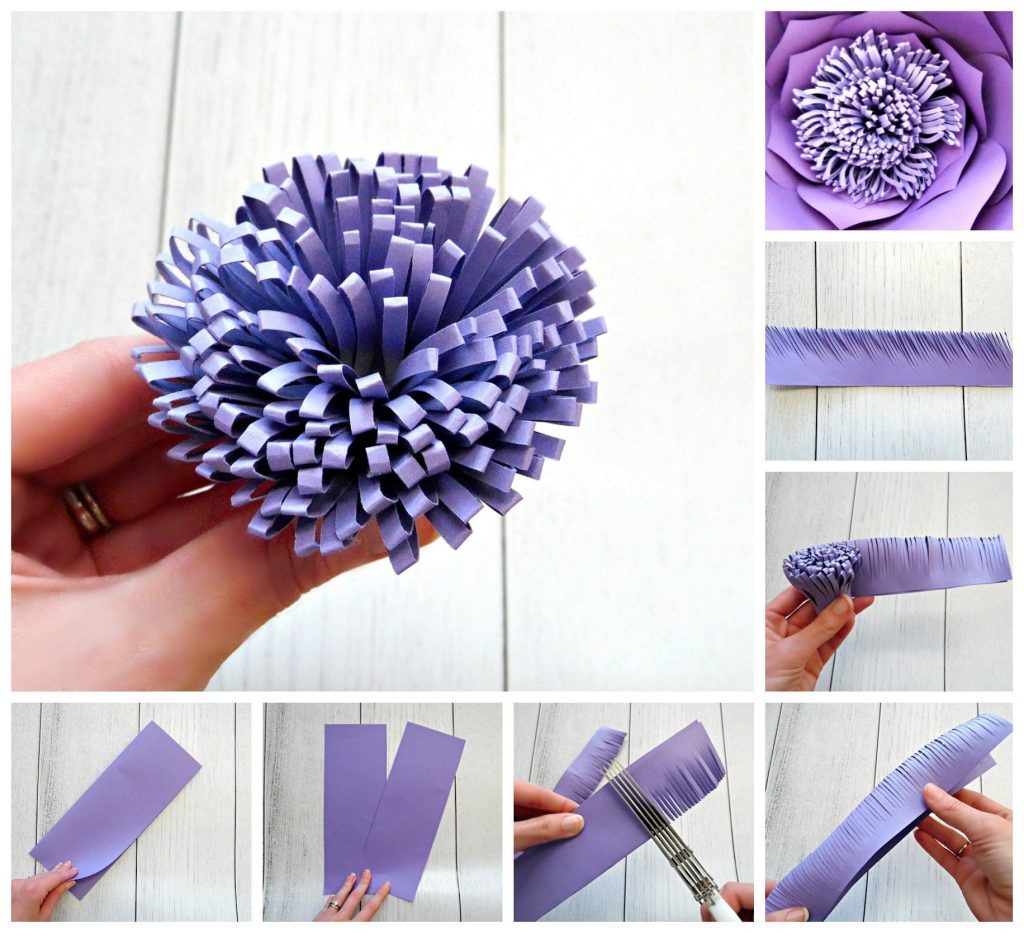
Cut a small strip of paper and fringe one side by making tiny snips. Roll it tightly to form the flower center and secure it with glue. The center anchors the entire flower, so keep it neat and firm. You can use a contrasting color for extra detail. Let it dry briefly before adding petals.
Step 8: Attach the First Layer of Petals
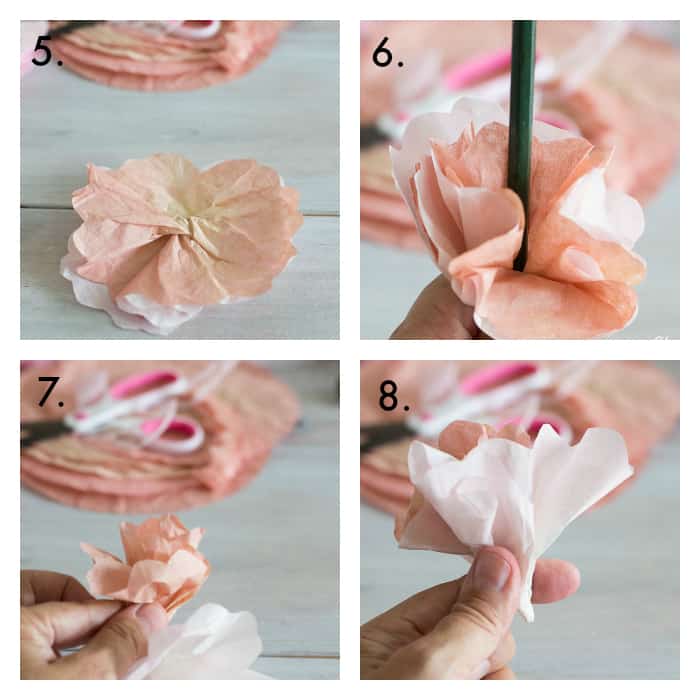
Glue the smallest petals around the center, overlapping them slightly. Press gently and hold for a few seconds so the glue sets. This inner layer defines the flower’s shape, so take your time here. Keep the petals evenly spaced for balance. If one looks off, adjust it before the glue fully dries.
Step 9: Add Additional Petal Layers
Continue adding larger petals around the flower, working outward. Slightly stagger each layer so seams don’t line up. Layering creates fullness and depth, making the flower look more realistic. Rotate the flower as you work to check it from all angles. This step is where your flower really comes to life.
Step 10: Attach the Stem
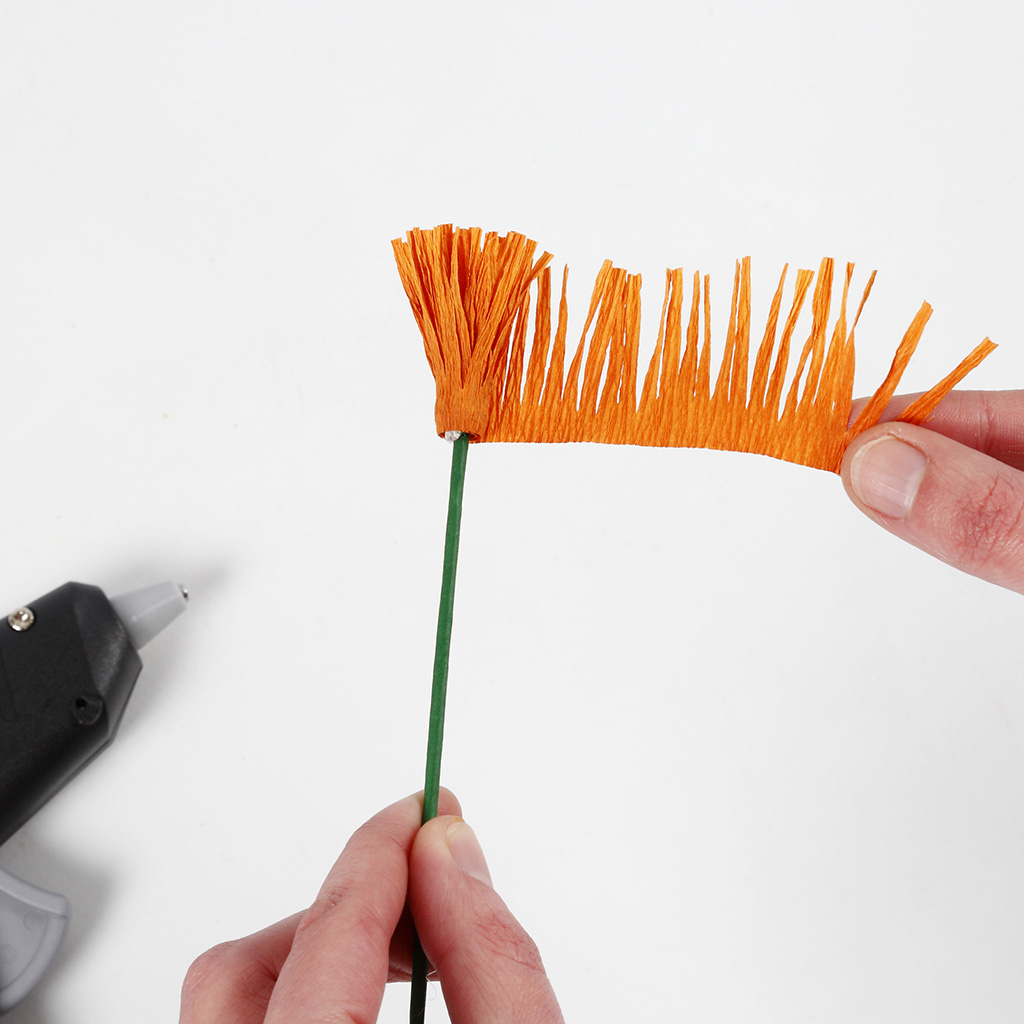
Flip the flower over and glue floral wire or a pipe cleaner to the back. Reinforce it with a small circle of paper glued on top. A secure stem makes the flower easier to display and arrange. Let the glue dry fully before handling. This extra support prevents wobbling later.
Step 11: Add Leaves and Details
Cut simple leaf shapes from green paper and lightly score the center vein. Glue them along the stem or just beneath the flower head. Leaves add realism and balance, especially for taller flowers. You can curl them slightly for a natural look. This is also a good moment to add extra color accents if you like.
Step 12: Final Adjustments and Styling
Gently bend petals outward and tweak the shape until you’re happy. Check for loose edges and add glue where needed. Small adjustments elevate the final result more than you’d expect. Arrange your flowers in a vase, tape them to a wall, or use them as table décor. Each flower will have its own personality—and that’s the charm.
Conclusion
Making paper flowers is equal parts relaxing and rewarding. With simple tools and a bit of patience, you can create décor that lasts and feels truly personal. Once you’ve made one, the process becomes second nature, and experimenting with colors and shapes is half the fun. Grab some paper, start small, and let your creativity do the rest.